Below are several screens of TJ in general use.
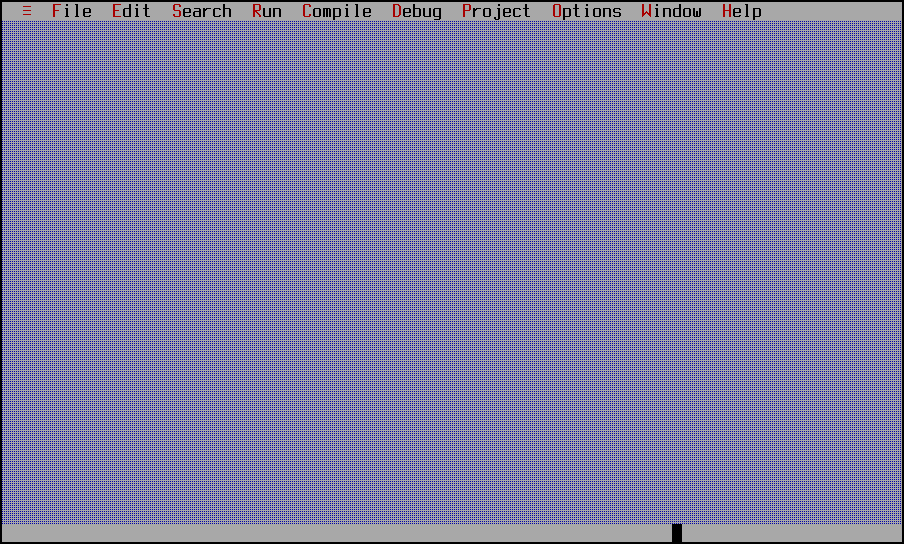
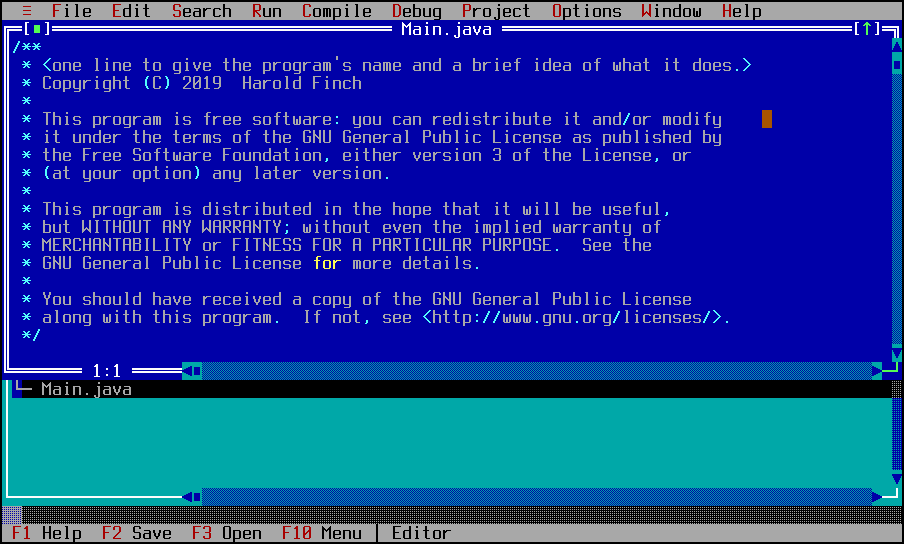
The initial screen, using the Swing backend. This is what Windows and
Mac users should see on first execution.
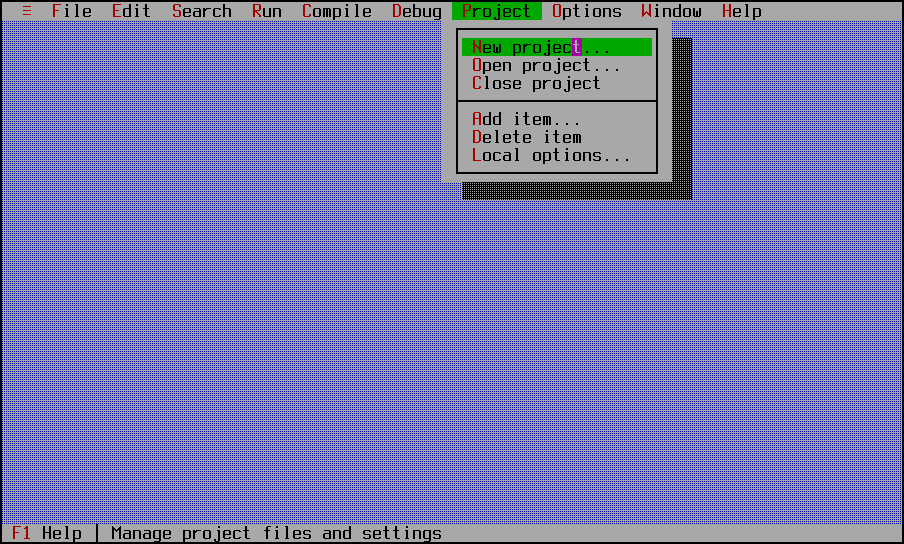
Let's create a new project. Select Project | New Project from the
pull-down menu.
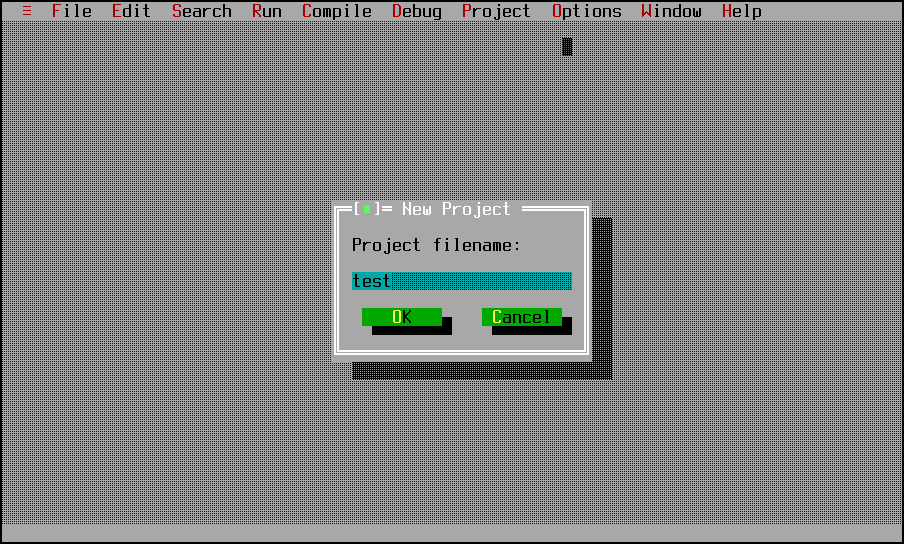
Enter the project filename. This will become "filename.project" in
the final project directory.
Fill in the project details. This particular project will be GPLv3
licensed, and we will give it a basic Hello World to start with.
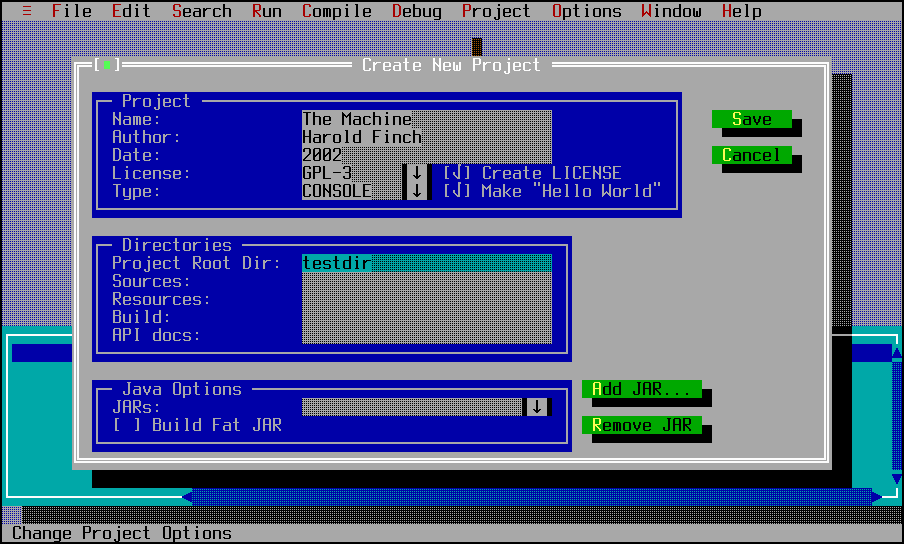
Select the Save button, and the project is created. Since it is a
console project, a Main class is created with "Hello World".
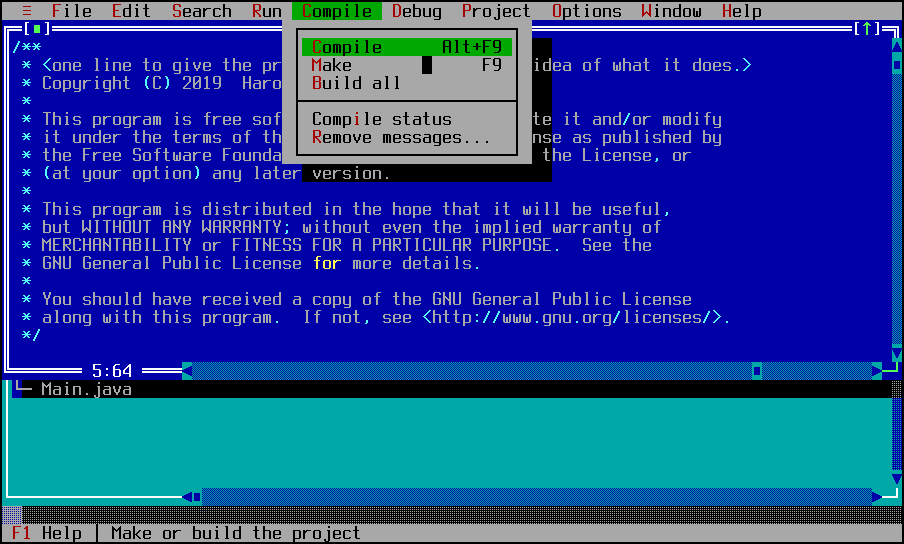
Let's compile the file. Select Compile | Compile from the drop-down menu.
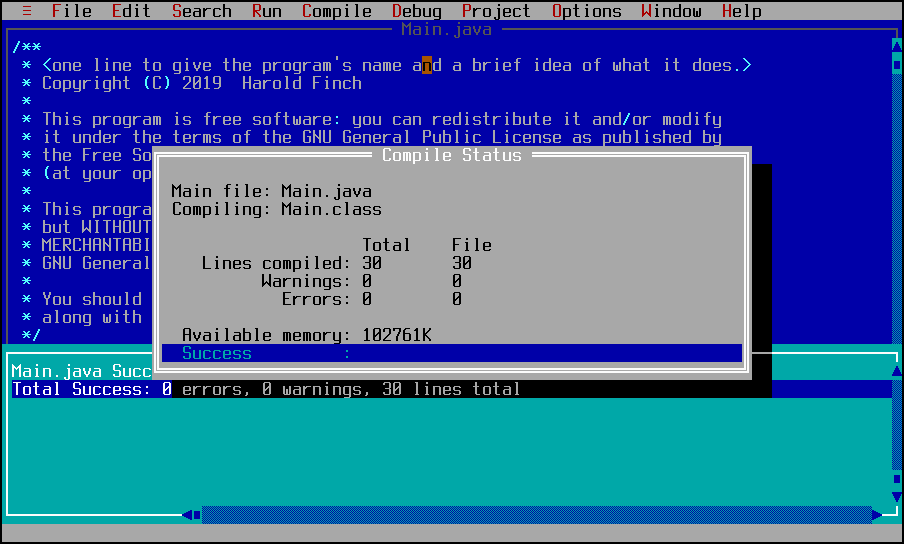
The compile status window comes up.
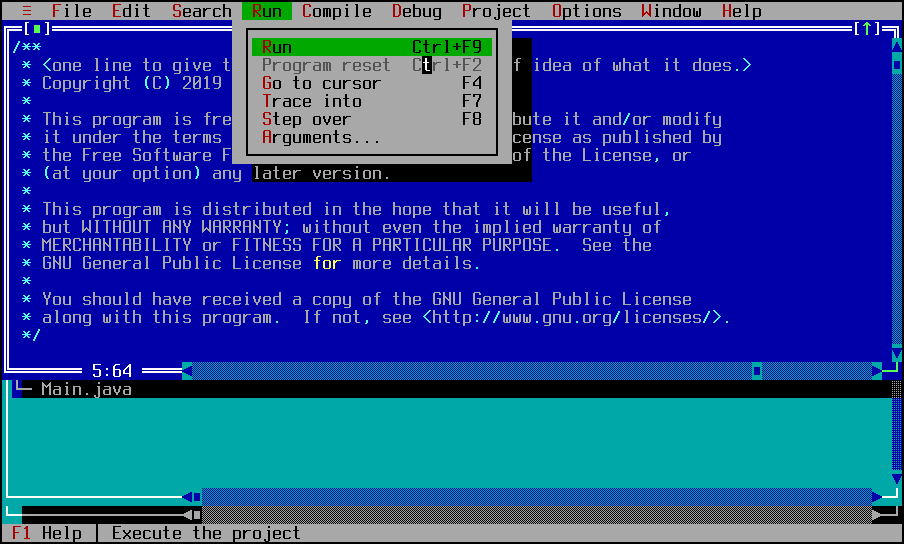
Click on something to close the compile status window. Let's run the
file. Select on the file in the editor, then Run | Run from the
pull-down menu.
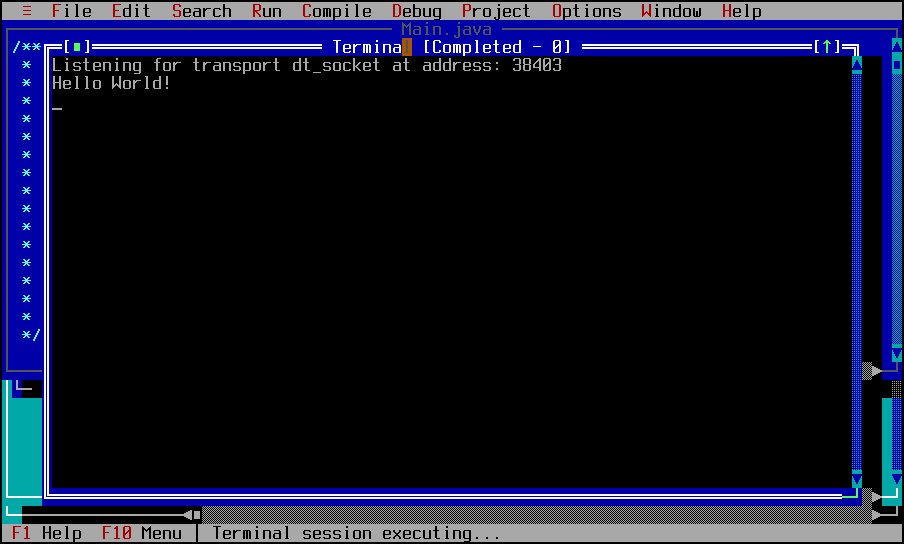
The program runs in its output window. This output window is a full
Xterm/VT100 terminal window, with mouse and image support. It is
actually good enough to run Tranquil Java inside itself.
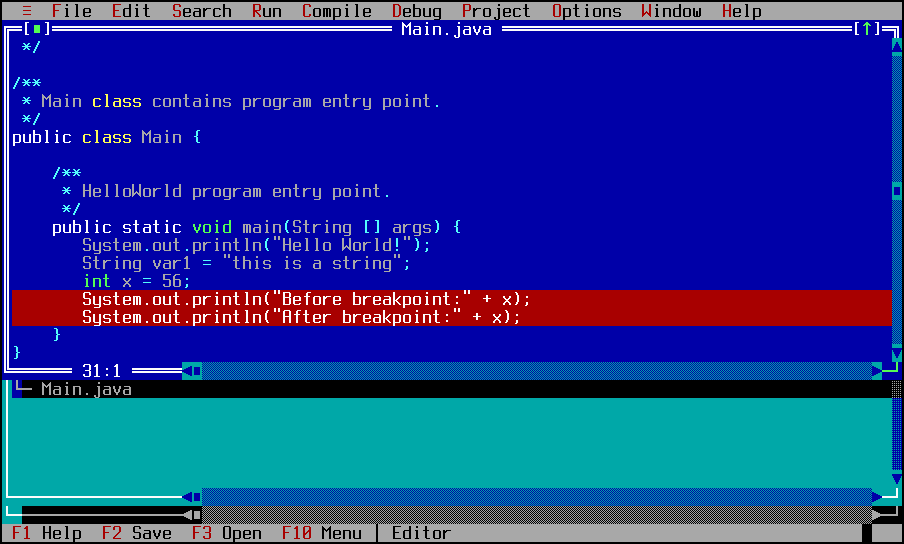
Let's see the debugger now. Close the output window, add some stuff
to the file, and enable some breakpoints. To enable a breakpoint, put
the cursor on the line and select Debug | Toggle Breakpoint from the
pull-down menu.
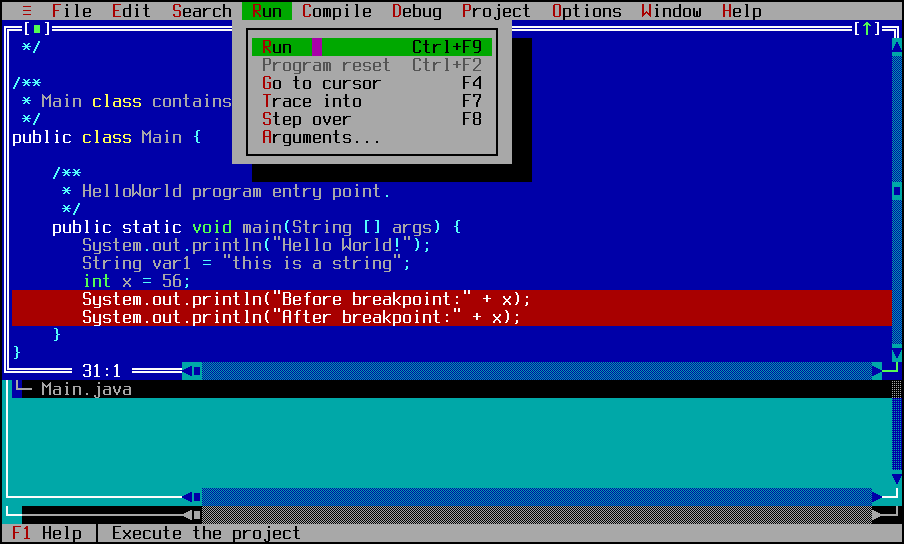
Run it again, this time with the breakpoints enabled.
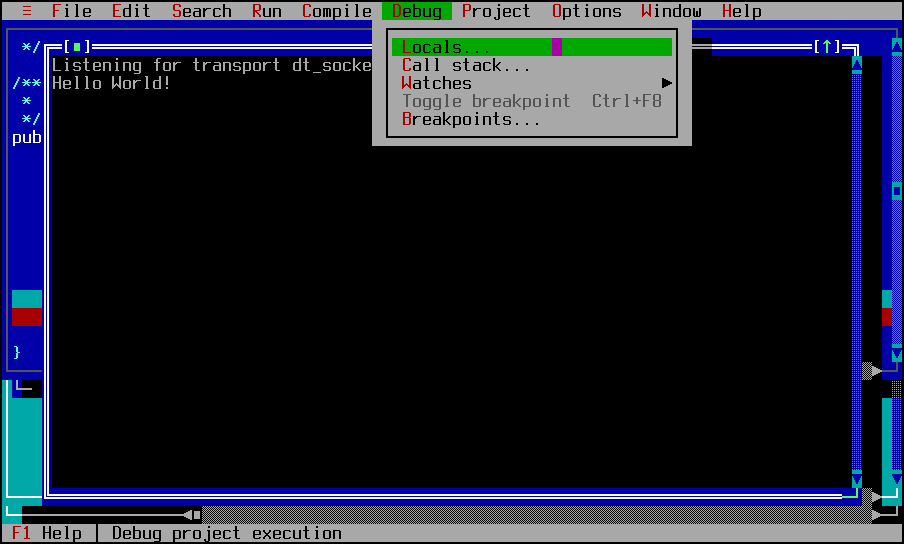
Now that the output is up, it is at the first breakpoint. Select
Debug | Locals from the pull-down menu to bring up the local variables
browser.
We see the locals now. This is a resizable/stretchable window,
showing variables at various scopes (local, object instance, static
class), and the call stack.
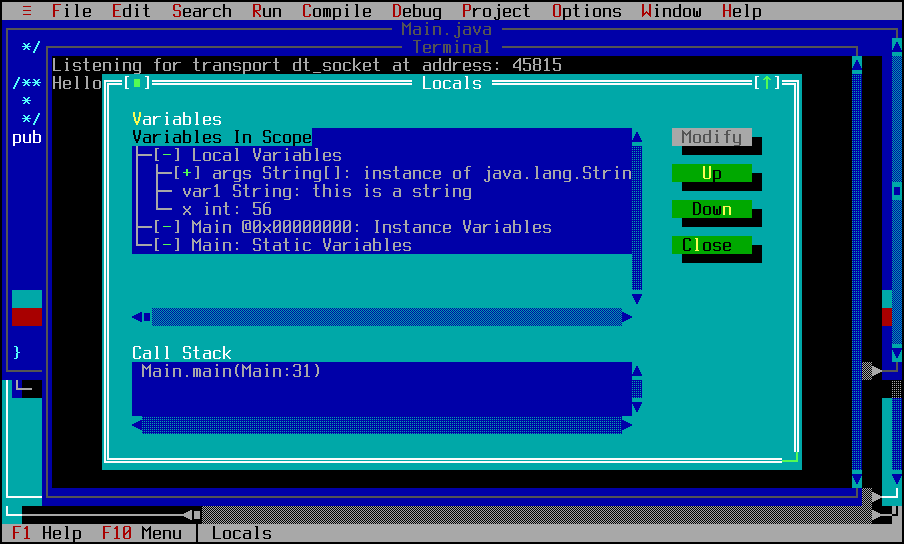
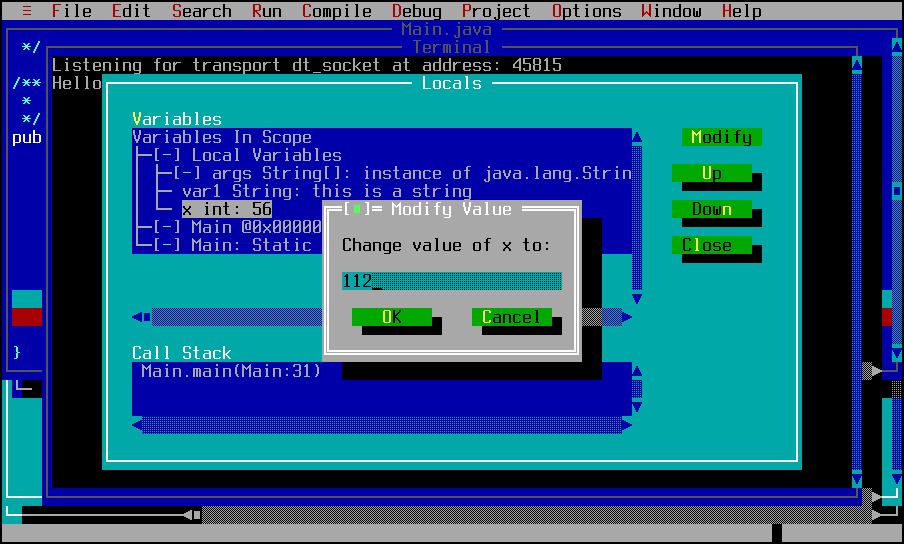
Let's drill down to one of the variables and change it. Select x, and
click the Modify button.
Let's continue the program. Select Run | Run again from the
pull-down, or press Ctrl+F9.
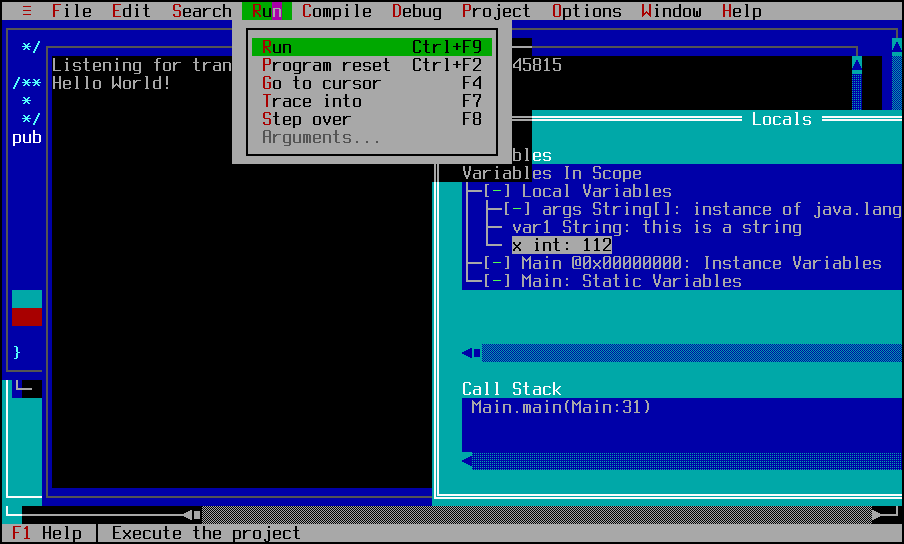
We see the edited value in the program print output. Edit the value
again, make it 200, run it again, this time the program exits and we
see that it has printed the updated value again after running past its
second breakpoint.

The internal editor is "ok", but is far short of a real editor. Let's
switch to an external editor. That is controlled on the application
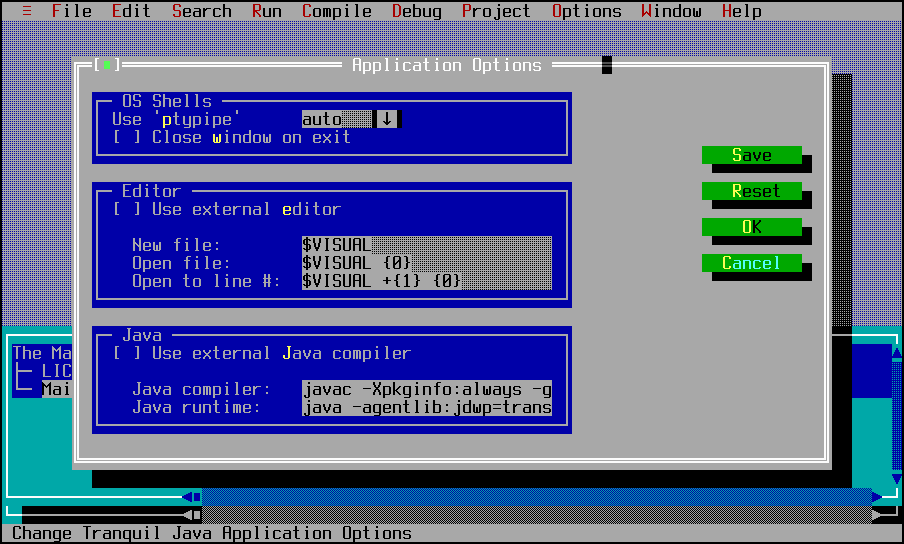
options, so select Options | Application from the pull-down menu.
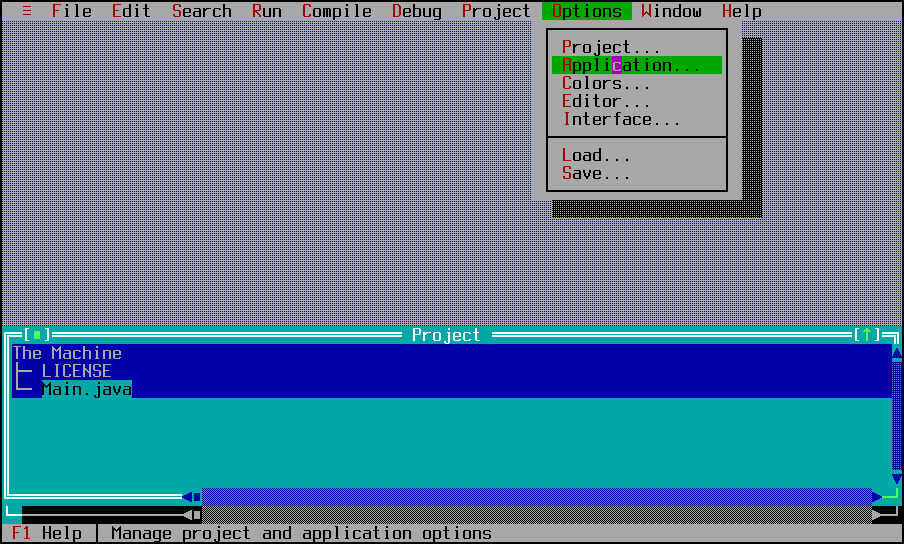
Here we see some of the global options. Let's check the "Use external
editor" option, and click Save or OK.
Double-click Main.java in the Project window, and our Hello World now
opens in our preferred editor.

